Football Visor Installation
Football Visor Installation
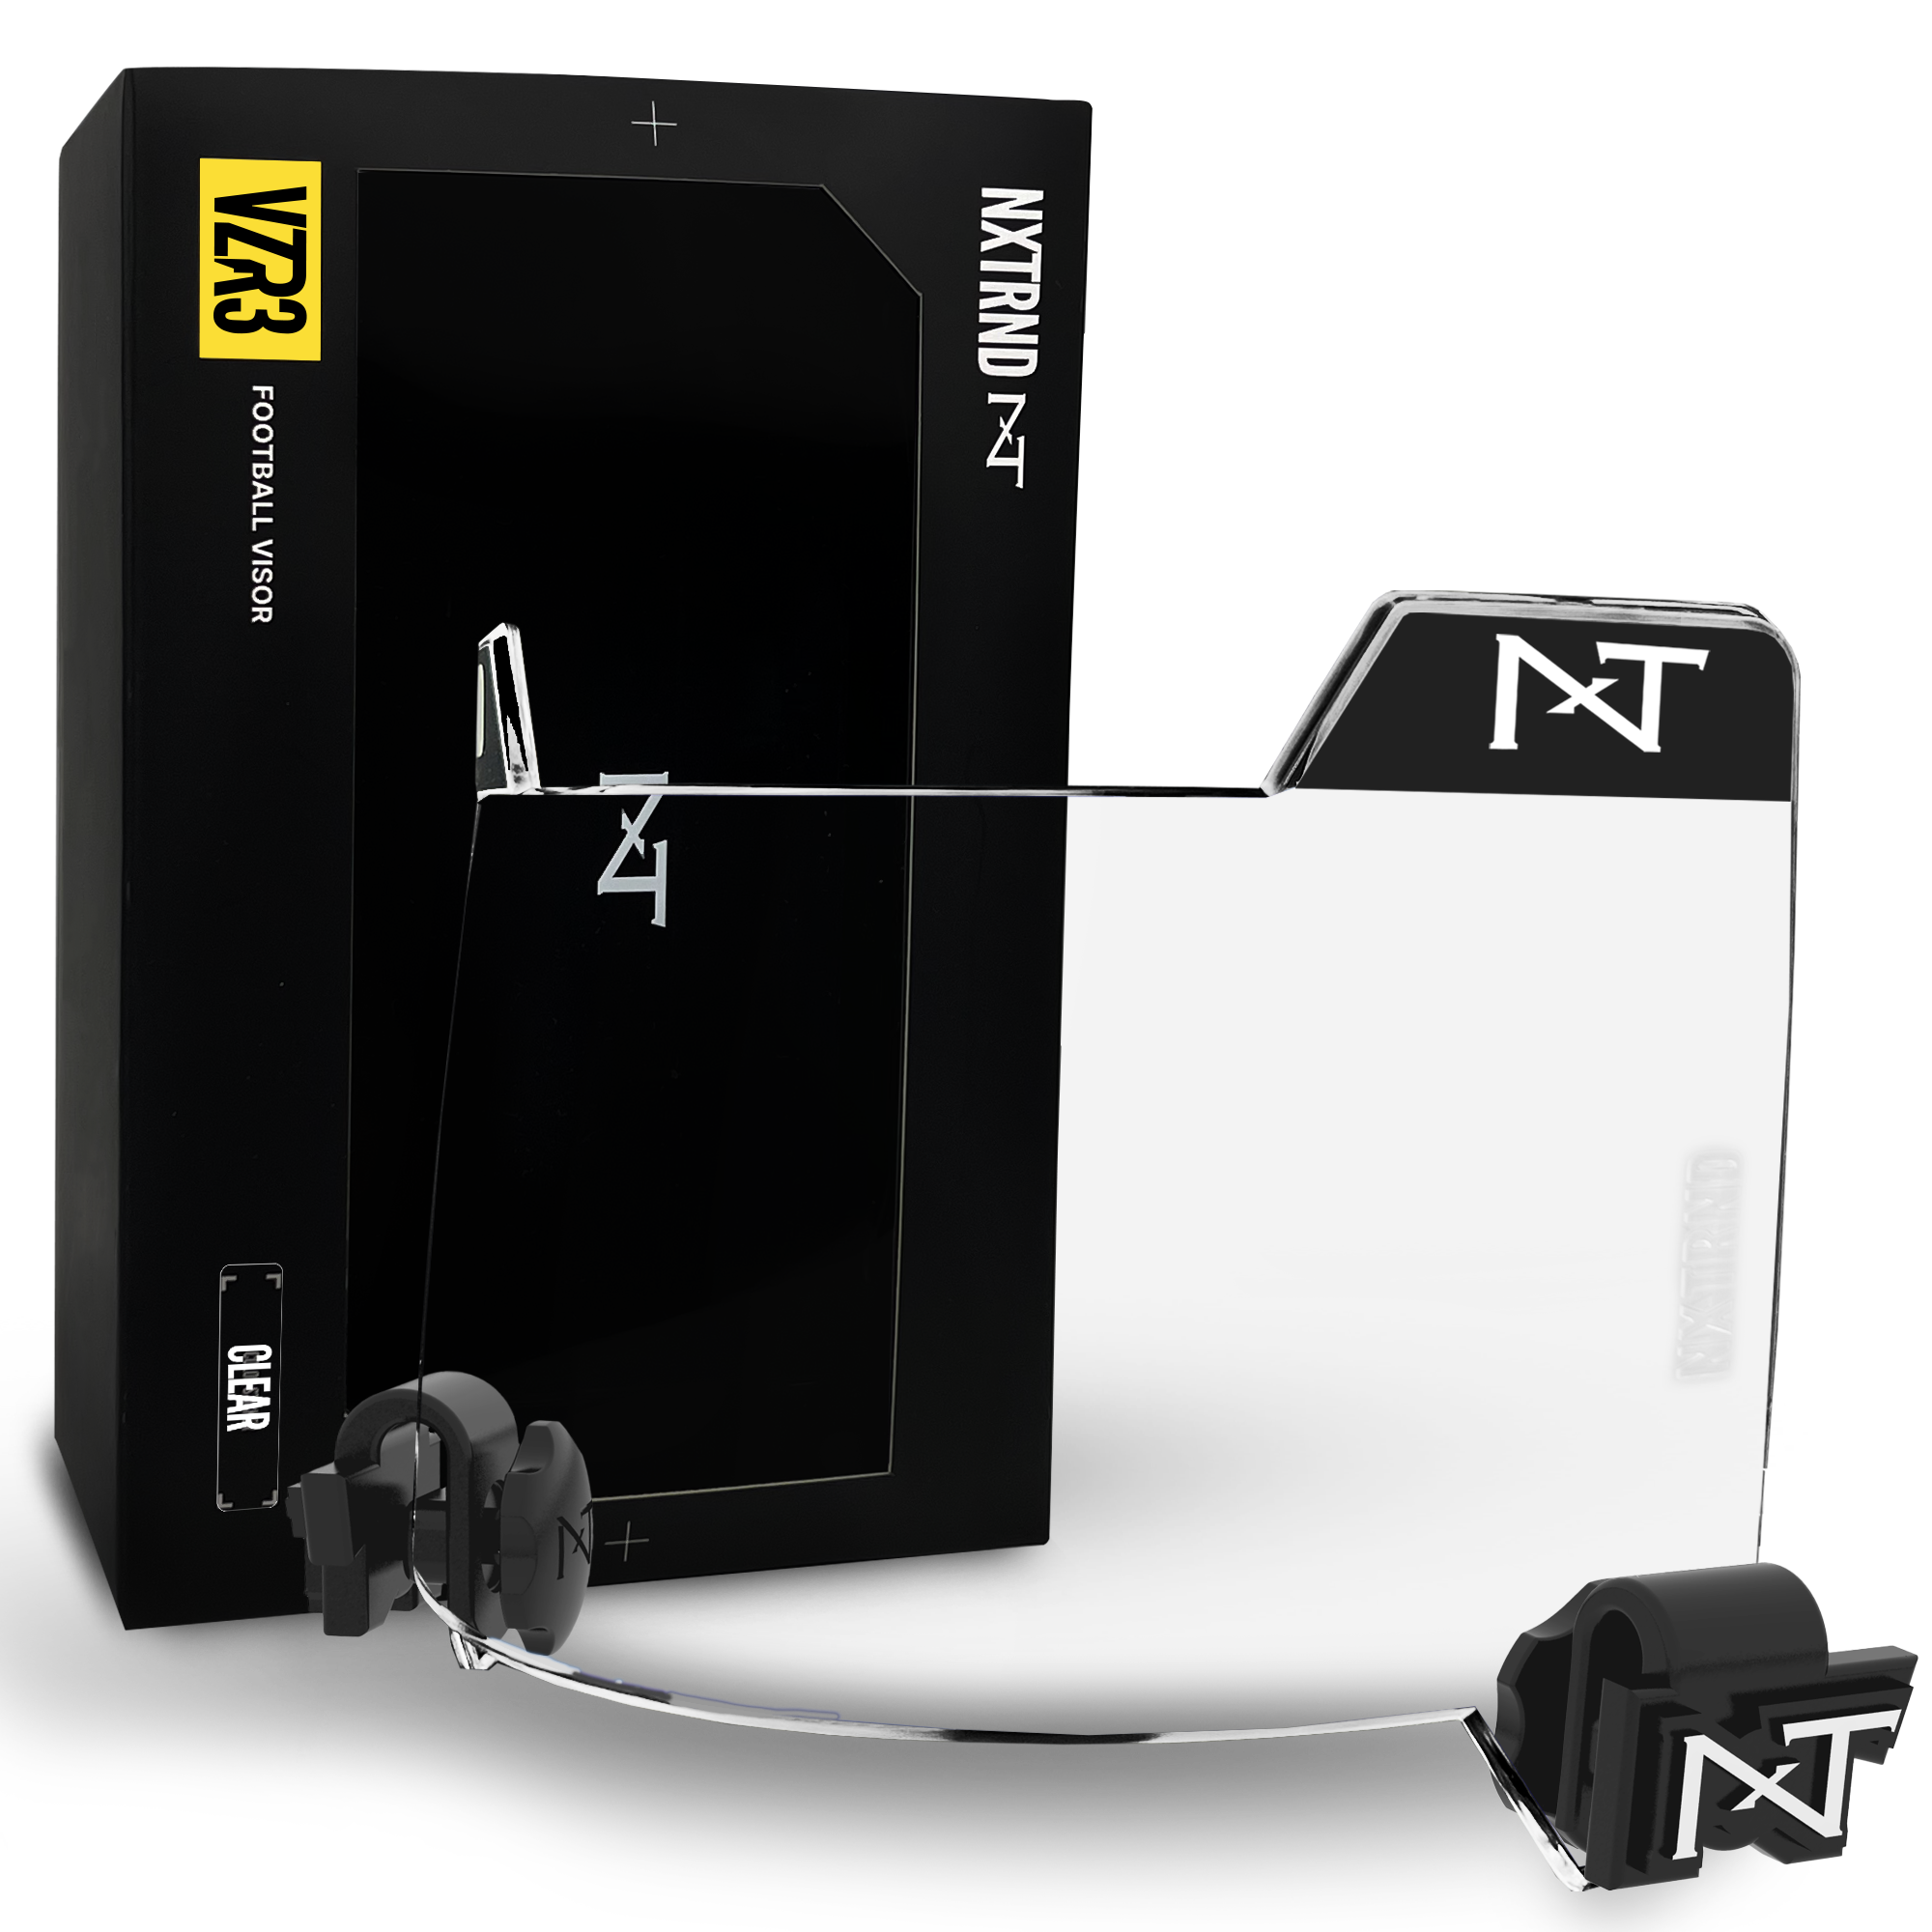
Although optional, football visors offer great benefits to the players that wear them. Sometimes called a shield, helmet visors are see through lenses made of scratch proof polycarbonate materials that protect your eyes from impact from exterior elements as well as hide your potential next moves from your opponents.
Available in a variety of colored tints, football helmet visors have the ability to add personal style to your on-field kit and change the way you see the game. However, before ordering your visor, we recommend you ask your coach or league official to make sure its use is permitted in your football league.
At Nxtrnd, we design high performing equipment for the modern athlete. Follow our easy installation instructions below and make sure you're ready for the gridiron.
What Tools Are Needed To Install The Helmet Visor
- Helmet and the facemask
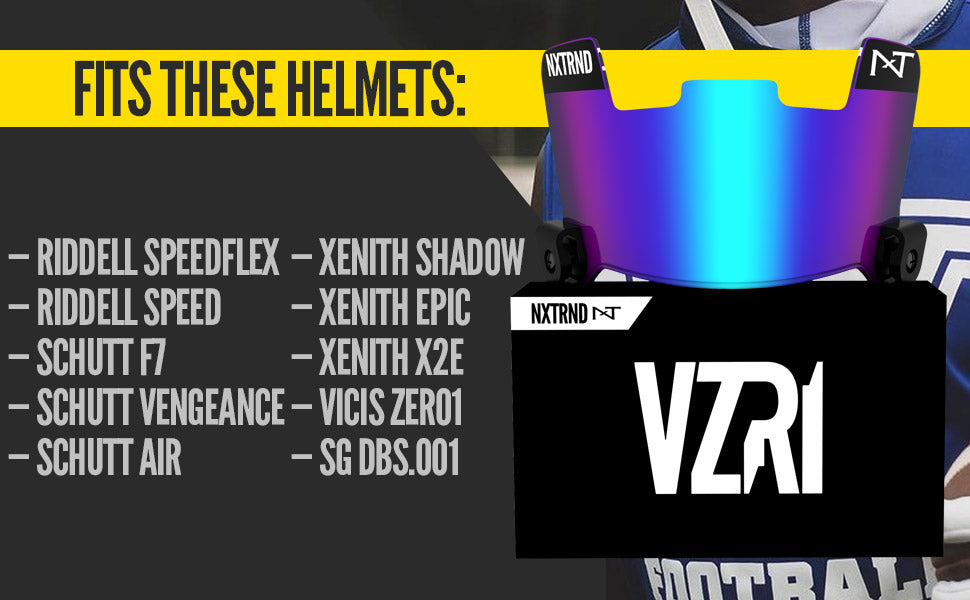
- Visor with all its attachments (Included in Nxtrnd VZR1 packages)
- Phillips-head screwdriver
How To Install A Football Helmet Visor
For the complete Instructions Guide of our VZR1 Visors, please Click Here.
1) Stick the decals on the visor
Before installing the visor on the facemask, we recommend sticking the decals on the visor. Sticking the decals on the visor prior to installation is easier and will enable you to position them in your area of choice.
2) Assemble the hardware (Not necessary on certain models)
Find your hardware bag and push the T-Nuts into their respective plastic T-Nut sleeve. Some visors come with quick and easy toolless installation clips such as the VZR1 Visors.
3) Remove the facemask from the helmet
Using a Philips-head screwdriver, remove the helmets facemask by un-screwing all screws attaching the facemask to the helmet.
4) Place the visor on the facemask
Place the visor on the interior side of the facemask by making sure it is centered and placed in front of your field of vision.
5) Place visor clips on the facemask
Align the visor clips with their designed holes in the visor. From the top down, push the visor clips over the facemask bar that is closest to the hole in the visor.
6) Screw the visor tabs into the visor
Pinch the visor clips and the visor together using your fingers. Once the holes are aligned, place the T-Nuts on in the inside surface of the visor clips (towards your face) and tighten the screws from the outside in, thus bringing both side of the visor clip together and squeezing the visor in place. IMPORTANT: Stop when tight. Do not overtighten.
Finally, make sure your visor sits comfortably underneath your facemask and doesn't interfere negatively with your vision. To learn more and to find what visor is best for you, please click here.


