

Article: How to Fit a Mouthguard (Complete Guide)
Contents
- Why Proper Mouthguard Fit Matters
- What You’ll Need to Fit a Mouthguard
- Step 1: How to Mold a Mouthguard
- Step 2: How to Fit Your Mouthguard Correctly
- Step 3: Lock the Fit
- How Should a Mouthguard Fit?
- Common Mouthguard Fitting Mistakes
- NXTRND Mouthguard Fitting Instructions by Model
- When to Re-Mold or Replace Your Mouthguard
How to Fit a Mouthguard (Complete Guide)
A properly fitted mouthguard is one of the most important pieces of protective equipment an athlete can wear. According to the American Dental Association, wearing a well-fitted mouthguard significantly reduces the risk of dental injuries and should be standard gear for athletes in any sport, contact or non-contact.
When fitted correctly, a mouthguard not only protects your teeth but also improves comfort, breathing, and overall performance.
This guide walks you through how to mold, fit, and check your mouthguard step by step, so you get a secure, comfortable, game-ready fit every time.
Why Proper Mouthguard Fit Matters
An ill-fitting mouthguard can:
- Shift during play
- Feel bulky or uncomfortable
- Reduce protection
- Distract you during competition
A properly fitted mouthguard:
- Absorbs and distributes impact
- Stays securely in place without biting
- Feels comfortable during extended use
- Allows normal breathing and communication
What You’ll Need to Fit a Mouthguard
Before you begin, gather the following items:
- 1 pot with water
- 1 cup or bowl of ice water
- 1 mirror
- 1 timer
- 1 slotted plastic or wooden spoon
Step 1: How to Mold a Mouthguard
Molding is the process that custom-shapes the mouthguard to your teeth.
1. Heat the water
Fill a pot with 3–5 inches of water and bring it to a boil.
Once boiling, remove it from the heat and let it cool for 30 seconds.
2. Soften the mouthguard
Submerge the mouthguard in the hot water with the inner liner facing down.
Leave it in for 20–30 seconds, or until the material softens.
⚠️ Important: Timing varies by model. Always follow the specific instructions included with your NXTRND mouthguard.
3. Briefly cool
Remove the mouthguard and run it under cold water for 2 seconds to prevent burns.
Step 2: How to Fit Your Mouthguard Correctly
4. Insert and align
Using a mirror, place the mouthguard in your mouth, aligning it with the center of your front teeth.
5. Press into place
Using your fingers, press the mouthguard down over your molars so it fully covers your upper teeth.
6. Set the bite
Bring your lower jaw slightly forward.
Lightly bite down while pushing the front of the guard upward toward your gums.
7. Create suction
While holding the guard in place:
- Suck the air out
- Press along the edges with your fingers
- Use your tongue to press the guard against the roof of your mouth
Continue for 60 seconds.
Step 3: Lock the Fit
8. Cool and set
Remove the mouthguard and place it in ice water for 5 minutes.
This hardens the material and locks in the custom shape.
9. Test the fit
Once cooled, try the mouthguard on. A properly fitted mouthguard should:
- Snap into place
- Stay secure without biting
- Feel snug but not painful
If the fit isn’t right, repeat the molding process.
How Should a Mouthguard Fit?
Should a mouthguard be tight?
Yes, a correctly fitted mouthguard should:
- Fit tightly around your teeth
- Stay in place without clenching
- Feel comfortable during movement and breathing
When is it too tight?
Your mouthguard may be too tight if:
- It causes tooth pain or pressure
- It feels like it’s shifting your teeth
- You struggle to insert or remove it
This usually means the guard was poorly molded or is the wrong size.
Common Mouthguard Fitting Mistakes
Avoid these common issues:
- Guard falls out unless you bite down
- Loose fit after cooling
- Uneven molding around molars
- Edges curling during cooling
- Skipping model-specific instructions
A poor fit reduces both protection and performance.
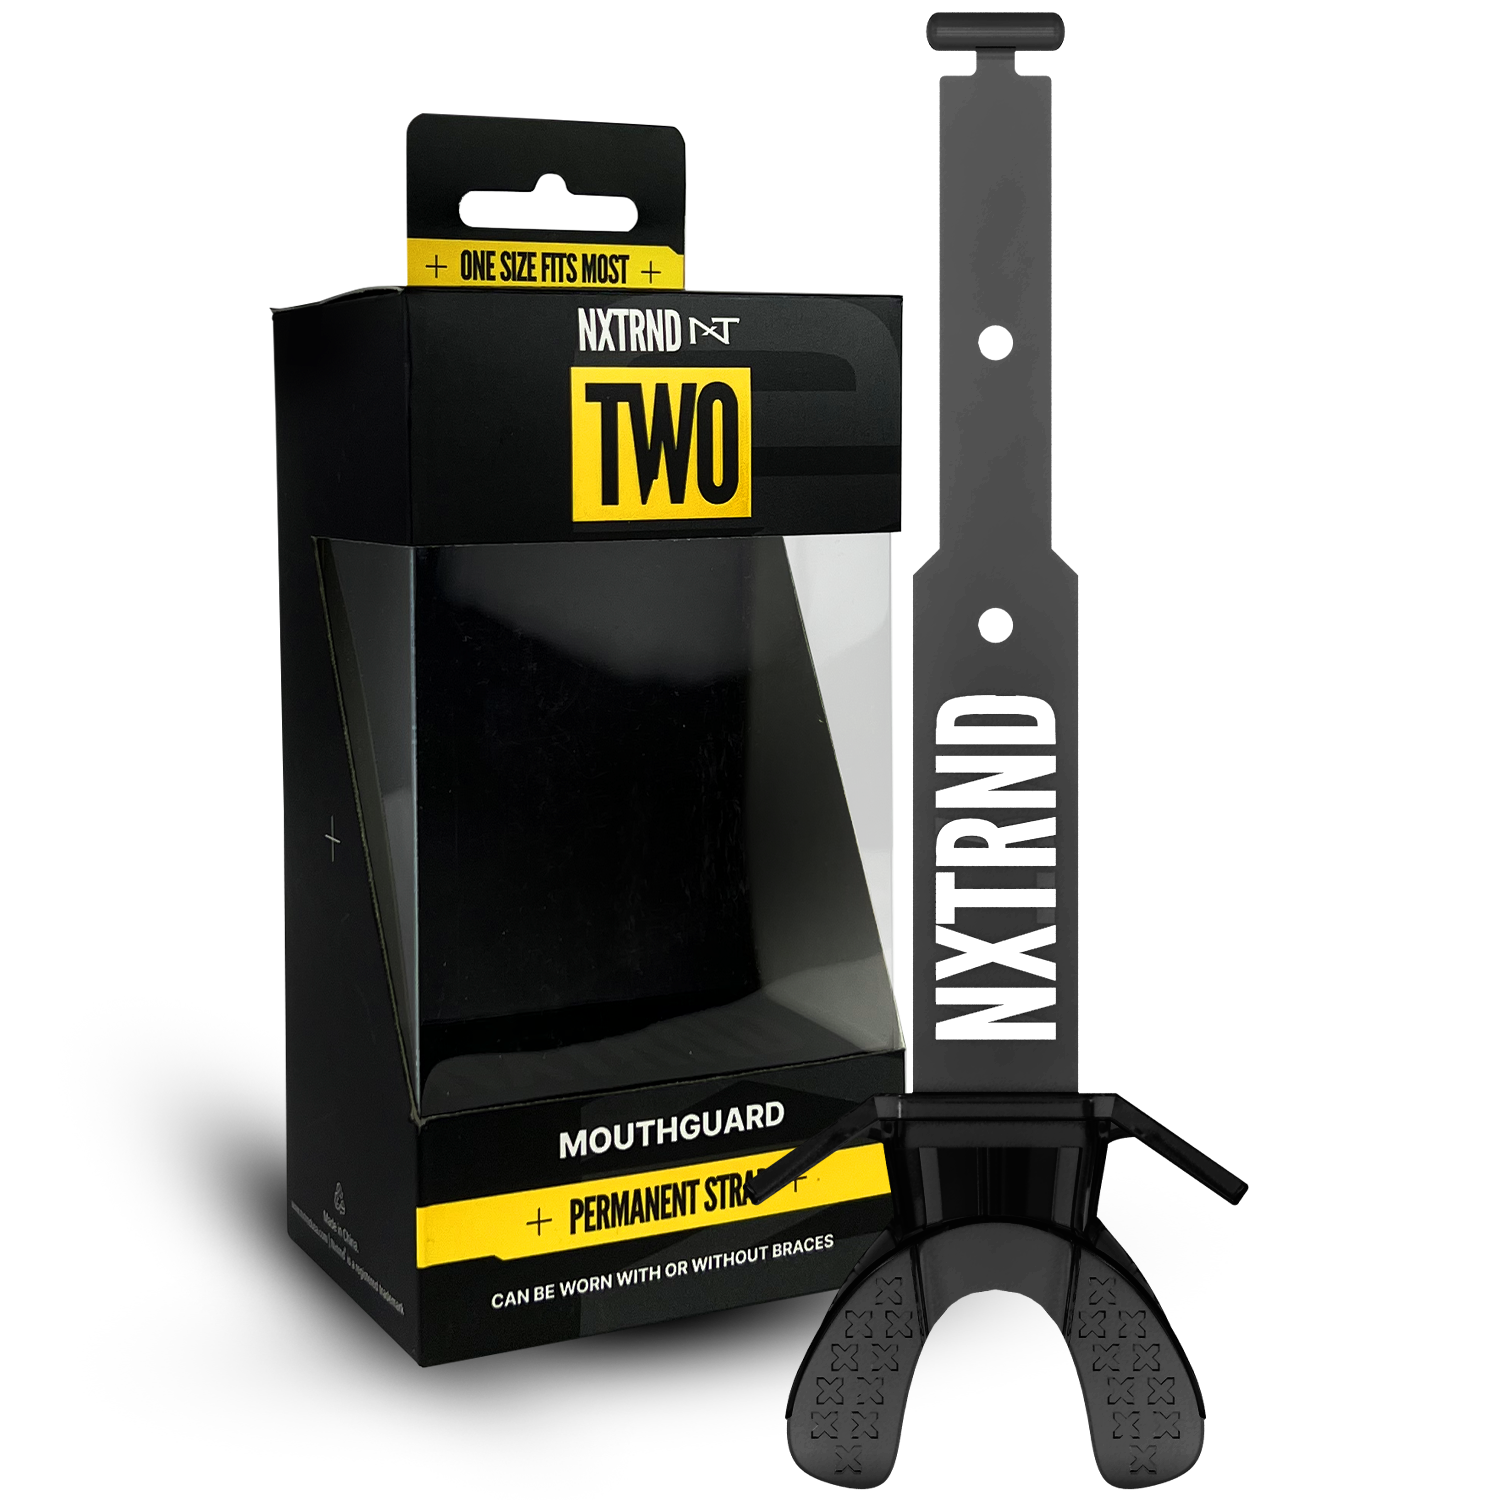
NXTRND Mouthguard Fitting Instructions by Model
Each NXTRND mouthguard is designed differently and may require specific molding times.
Select your model below for detailed instructions:
- NXTRND RUSH Mouthguard Fitting Instructions
- NXTRND CLASSIC Mouthguard Fitting Instructions
- NXTRND ONE Mouthguard Fitting Instructions
Always follow the instructions included with your specific mouthguard for best results.
When to Re-Mold or Replace Your Mouthguard
You should re-mold or replace your mouthguard if:
- The fit becomes loose
- You notice tears, cuts, or jagged edges
- The material hardens or deforms
- Your teeth alignment changes
Regular inspection ensures maximum protection.
Final Thoughts
A properly fitted mouthguard is essential for safety, comfort, and performance. By following the steps above and using the correct NXTRND model instructions, you’ll get a custom fit that stays secure and performs when it matters most.
For the best protection, always wear a mouthguard that fits correctly, every practice, every game.


